Overview
This guide walks advertisers through uploading first-party data to Clean Room data sources for matching with publisher data.Prerequisites:
- First-party data prepared with common identifiers (hashed emails, mobile IDs, etc.)
- Data taxonomy defined
Steps
Provide source details
Enter a name and description for your data source:
- Use a clear, descriptive name (e.g., “Lapsed customers”)
- Include details about the data set in the description
Prepare taxonomy file
Prepare a taxonomy file in CSV format. The taxonomy defines segment IDs and names.
Access GCS bucket
Once the taxonomy is validated, you’ll be granted access to a GCS (Google Cloud Storage) bucket.
Upload raw data files
Upload your raw data files to the provided GCS bucket using the following format:
- File format: Tab-separated file (TSV) with NO headers
- Columns (in order):
id,tag,segmentsid: The user identifier (e.g., hashed email, mobile ad ID, IP address)tag: The identifier type - use one of:email_sha256,appnexus, orip_addresssegments: Comma-separated list of segment IDs as defined in your taxonomy file
- Example row:
abc123def456\temail_sha256\tsegment_001,segment_042,segment_103
Permissioning Data (Publisher-Driven Workflow)
If following the publisher-driven workflow, you also need to permission the data source to the publisher’s demand-side workspace:Get publisher's Organization ID
Ask the publisher for their demand-side Organization ID (found in their Settings).
What You’ll See
Advertiser’s view: When granting permission, you’ll see a modal where you enter the publisher’s demand-side workspace ID as the destination.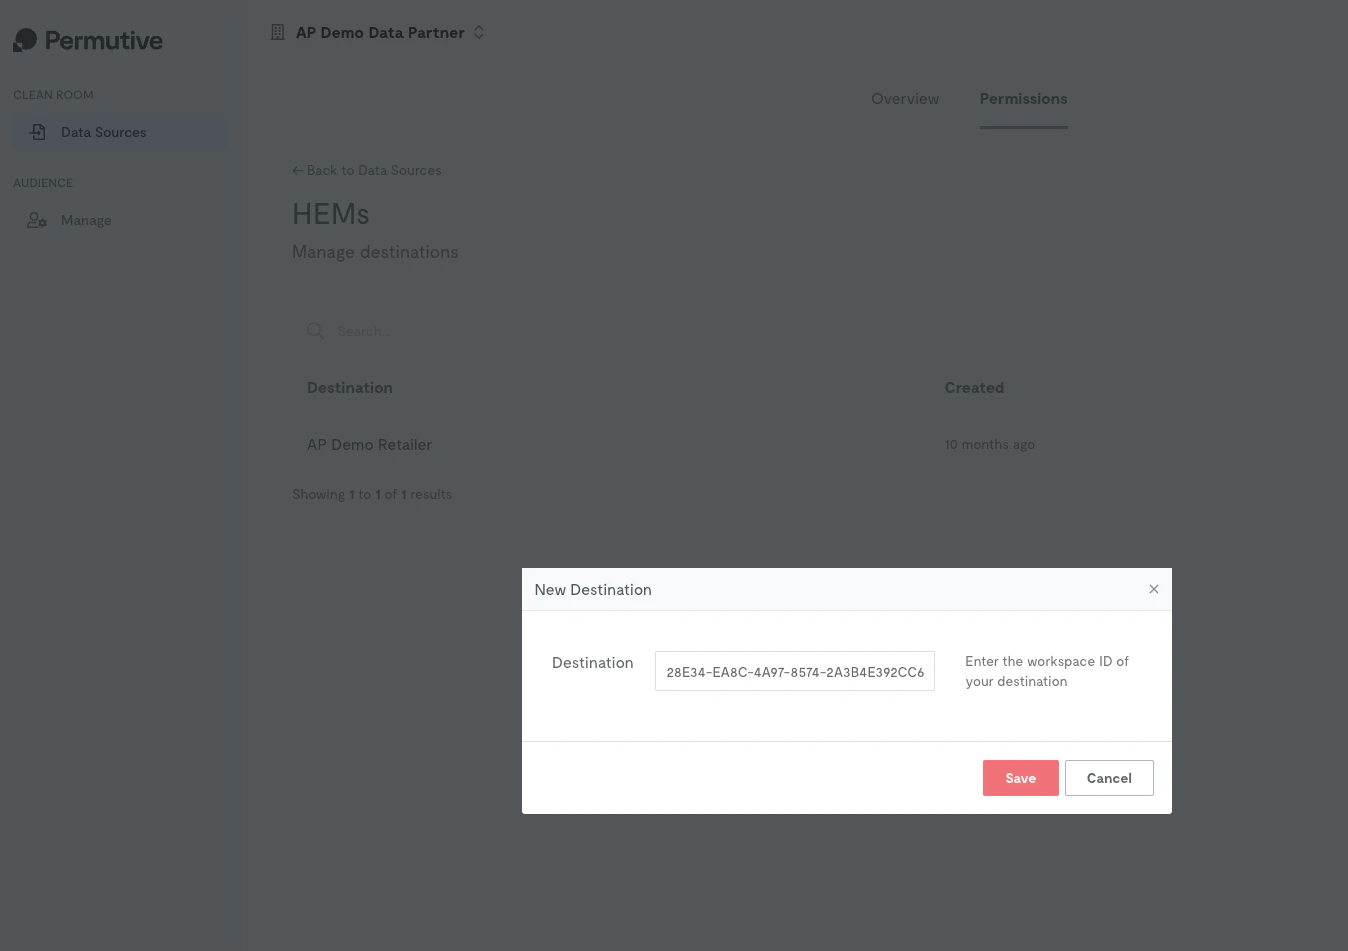
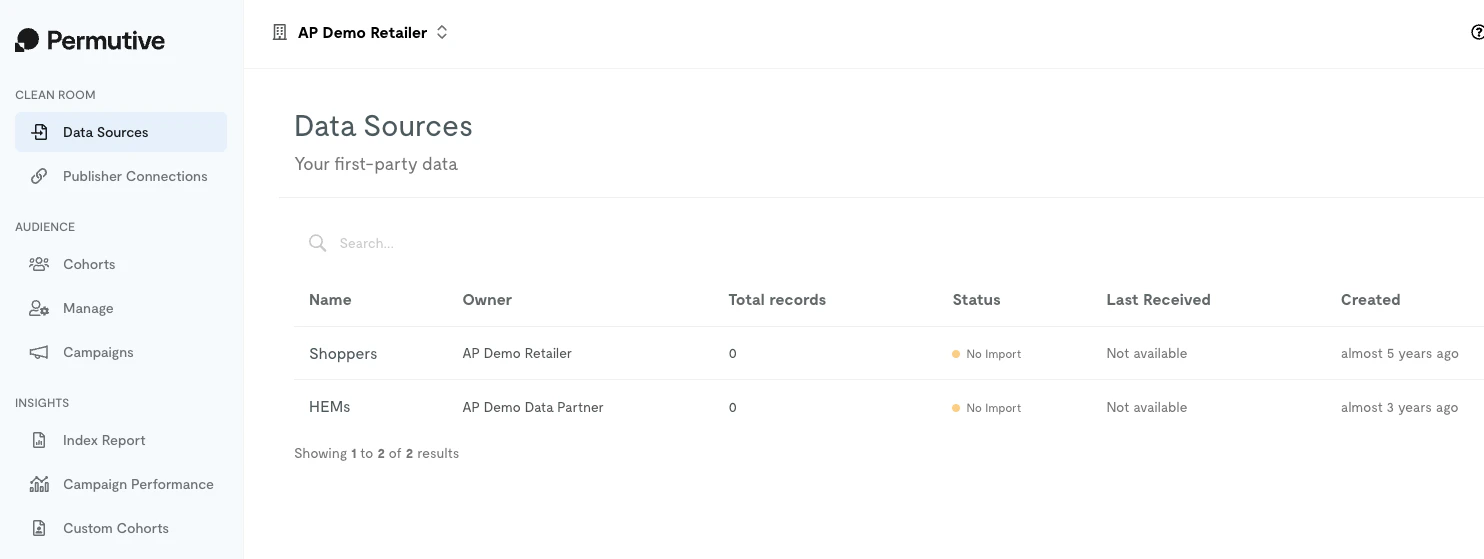
Data processing can take several hours depending on dataset size. Monitor the data source status in the interface.
Next Steps
Creating Clean Room Audiences
Build audiences from your data
Back to Clean Room
Return to product overview